Before the exercise I considered some of Claude Heath’s work. Although his approach to the touch and feel his way blindly produces great results, the main part of his work for me is about the longevity of memory. When I’m out and about I see and visualise the scene or object before me and then try to memorise it for when I am in a good place to draw it. Our memories in this regard may not recall every detail but it does hold the main points that we want to hold on to and to depict or actually realise. I found that I was having to do this a lot on my derive exercise.
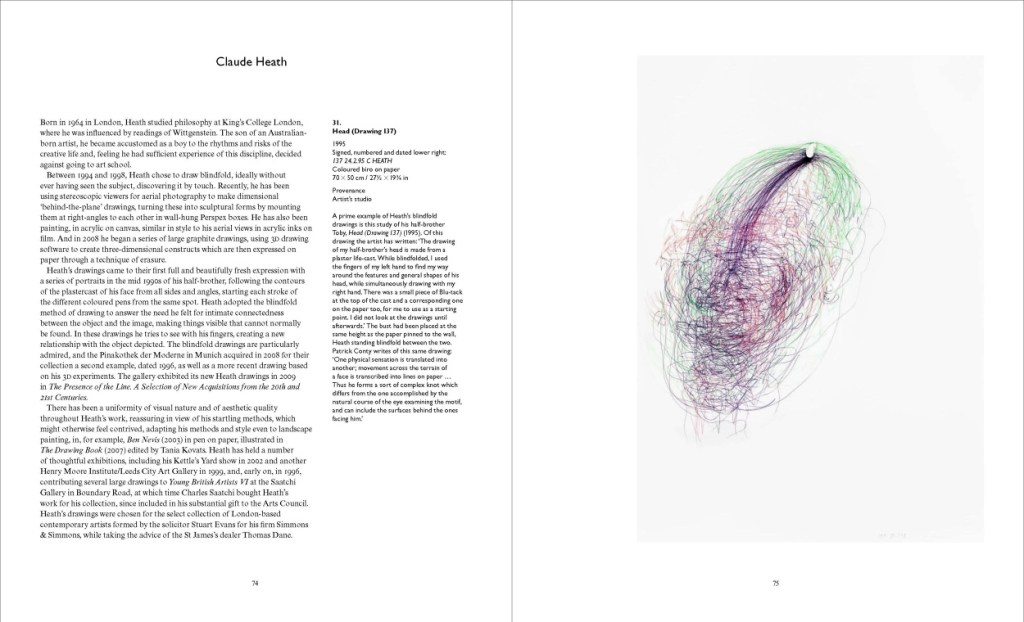
Examples of Claude Heath’s drawings from his site are below. I think at some point the site was updated but you can access via http://www.claudeheath.com
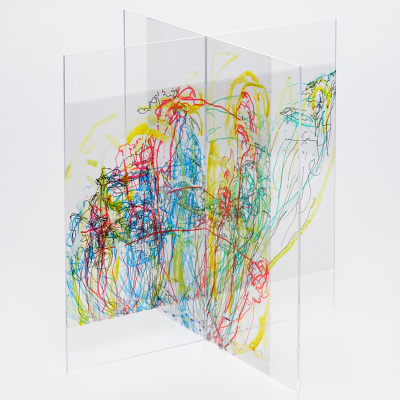
The first drawing is titled Pitcher and is 400x400cm. As you can see it’s drawn on sheets of either glass or perspex that overlap and create a 3D effect.
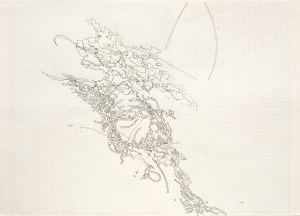
The image below is titled Ben Nevis and is done in ink on paper. Sadly I can’t find the size. The drawing of the rectangle at the bottom helps create the illusion of three dimensional form. The line of the drawings also help create a chicken wire effect. I really love the simple palette and it reminds me of some of the chinese drawings I researched in POP2.
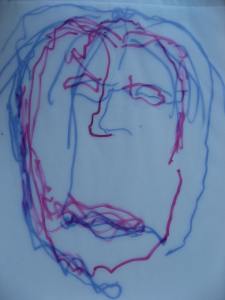
I was able to copy this page from the artists website. The two drawings are blindfold drawings of his brothers head and the one below is his own. What is interesting is in his latter work he uses software to erase parts of the drawings.
I undertook this exercise but managed it slightly differently. I didn’t use the blu-tac as a point of reference or marker. I decided to use the tip of my finger on the page where the nose should be. It was easier for me to draw on a flat surface with the paper face down. I decided to use a combination of different coloured marker pens as fine as possible but these would show up well with overlays. I decided on four drawings on the tracing paper which is A4 size. As I keep my finger on the page I have to go over my hand to draw the other side.
I was quite surprised by my first drawing below. It looks a bit like a picasso style as part of the head is in profile mode.
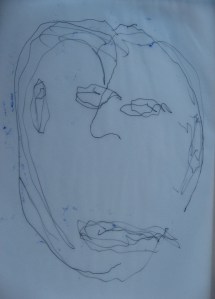
For the next image I change pens and go for a red felt tip. I can’t believe this but its quite accurate again in terms of where features should be. I always start at the finger which is where the blu-tac would be. I try to draw in ears and eyes plus the mouth and keep my pen on the page until I have to cross my hand.
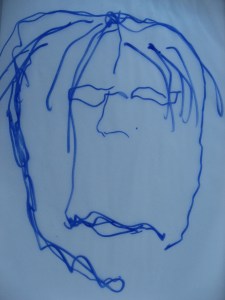
The next image is in blue so the colours contrast. I use a felt tip pen again. I can’t believe how accurately placed I’m doing with the main features. I try for some hair this time.
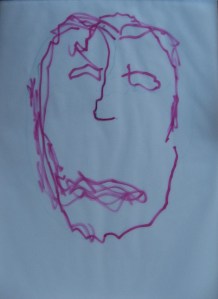
The next drawing is in a red shade again. The face is very thin but features very roughly where they should be. What a long face!

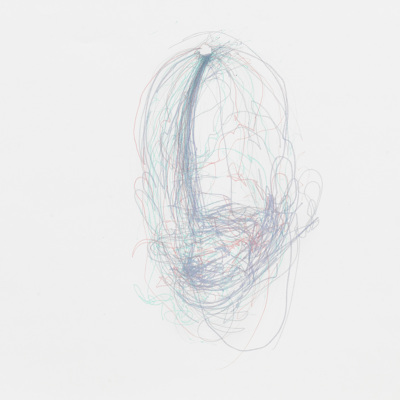
In the spirit of the exercise I try to overlay. Four overlays however is a little bit too many and you can’t see very well. I try them in two’s. To overlay I line up the two noses side by side. It’s weird but I quite like the effect.
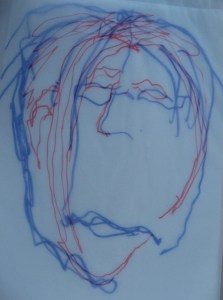
This next image shows three overlays but you can barely see the last one underneath. Again its important to line up the noses as my reference point.
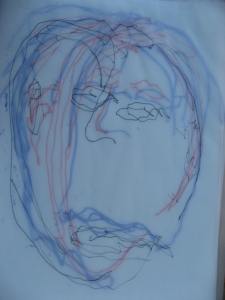
My final overlay is below. Both are in the same depth of felt pens. The outlines are quite close in proximity. This exercise has been useful in regard to my overall visual memory and spatial awareness. I can’t believe how accurate I was given the blindness. The overlays are very similar. While this isn’t a practice I would adopt I do think it’s been useful and I might like to try in future a more filled in self portrait undertaken just with line and without taking the pen off the paper.